Wraps are not created equal

Installations is a very important step in completing successful wrap project. Most of the wrap companies provide professional installation service which includes certain undisclosed number of steps, to ensure your satisfaction. However there is a lot of details that could greatly influence the cost of the wrap and it final outcome. By default on commercial applications, door handles are not removed and the vinyl is simply cut and tucked under them. In most cases this practice is perfectly fine and overall look of the graphics is not compromised.

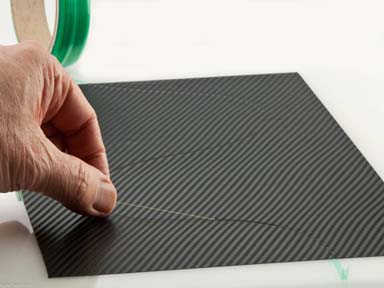
In certain cases like when using solid colour vinyl or specialty vinyls like 3M Carbon Fibre, it would be recommended to spend additional time and remove as much as possible to ensure seamless installation. Vinyl can be tucked in properly when the lights are off the car, and there is no issues with slight vinyl shrinkage due to temperature changes.

Positionability of vinyl film

Pressure activated adhesive allows the film to slide easily on the substrate, be positioned with light finger pressure, and repositioned if it is not in the right place. However, so that a good adhesive bond is established, the positionability feature is lost when:

  • Firm pressure with a squeegee or other application tool is applied.
  • Application temperatures are above 100°F (38°C), even if only light finger pressure was used for tacking. Note: graphics applied above the maximum recommended application temperature may pre-adhere.
  • If any part of the film is removed from the original liner and reapplied to the same or another liner.

Preventing air bubbles

Premium wrap vinyl has air release channels, a characteristic of comply adhesive. This feature may be found in films with either pressure-activated or pressure-sensitive adhesive that is permanent, changeable or removable. Removing and attempting to change a film liner or reapplying the same vinyl piece damages air release channels.  Manufactures like 3M, Avery, Oracal are the leaders in the industry, using their product is the first step in completing a successful installation.

TIP* When applying graphics, always work from the center out to the edges of the graphic to allow trapped air to exit through the air release channels. If the channels are closed off by firm pressure and air is trapped, use an air release tool to aid in removing air bubbles.

Return top